📋 Jump to Section
DoorVi + PDK Integration
Step-by-step guide to connect your PDK access control system with DoorVi. Follow the 15 steps below to enable video intercom and QR-based visitor entry on your PDK-managed gates and doors.
What is PDK?
Physical security platform for modern access control
PDK (Physical Digital Key)
Why integrate DoorVi with PDK?
How It Works
End-to-end visitor flow with DoorVi and PDK
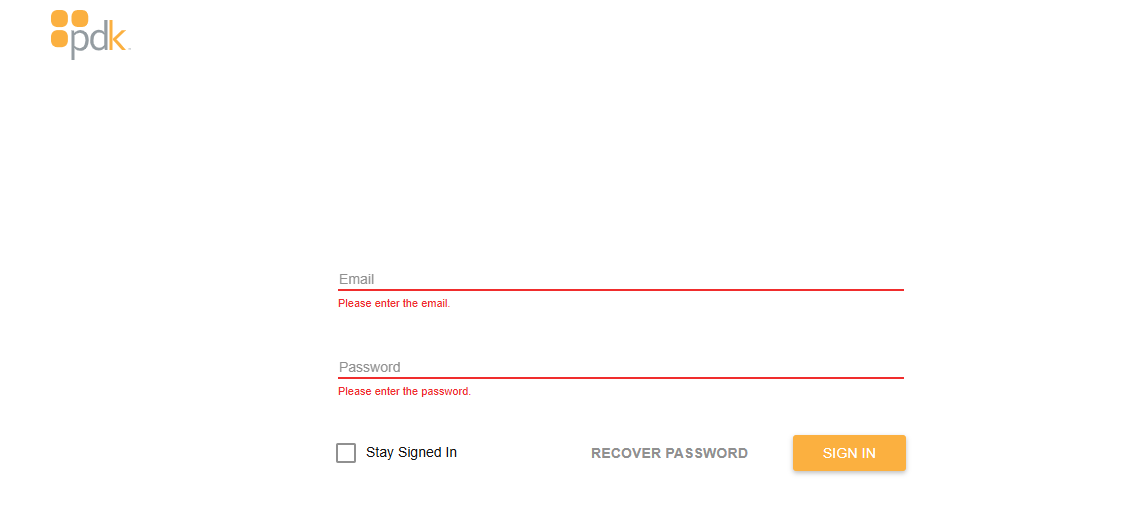
Step 1 & 2 — Open the PDK Login Page
Sign in to your PDK account at beta.pdk.io
- Email: Type your registered email address in the "Email" field.
- Password: Type your password in the "Password" field.
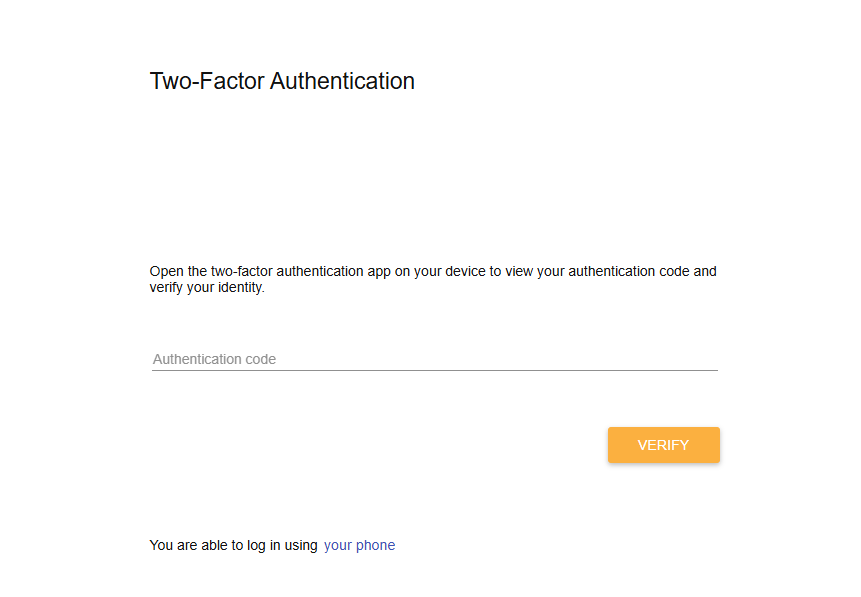
Step 3 — Two-Factor Authentication
Verify your identity with an authentication code
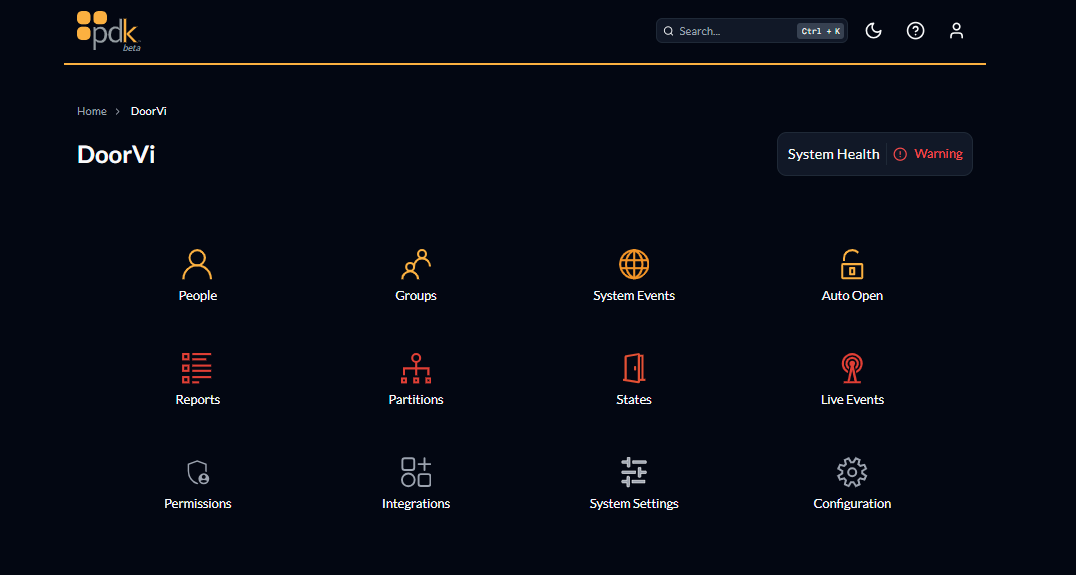
Step 4 — Dashboard & Integrations
Navigate to Integrations from the PDK main dashboard
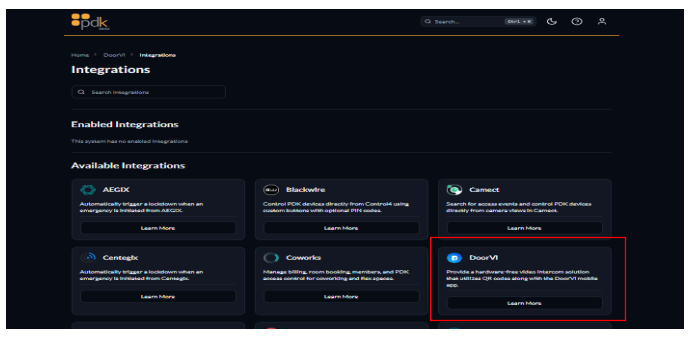
Step 5 — Find DoorVi in Available Integrations
Locate DoorVi in the PDK integrations marketplace
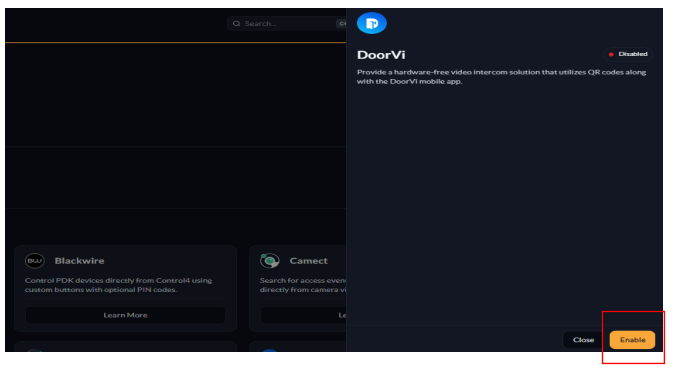
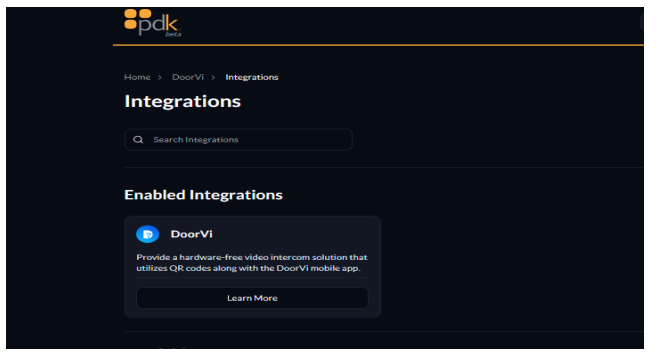
Steps 6 & 7 — Enable DoorVi
Authorize DoorVi to integrate with your PDK system
Step 8 — Login to DoorVi Control Panel
Open DoorVi MulTi in a new browser tab
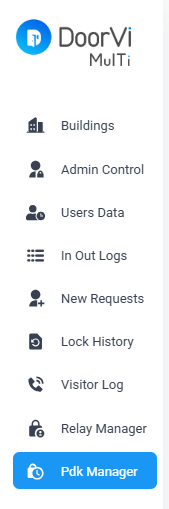
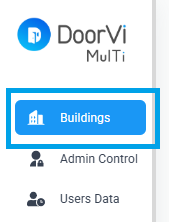
Step 9 — Access PDK Manager
Find PDK Manager in the DoorVi side menu
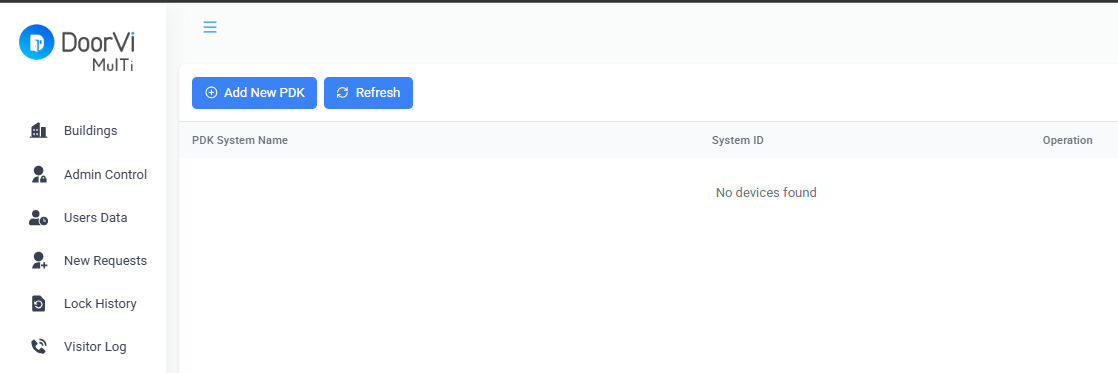
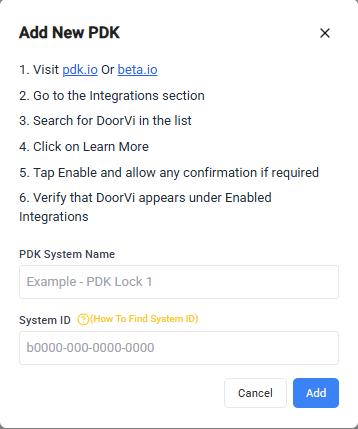
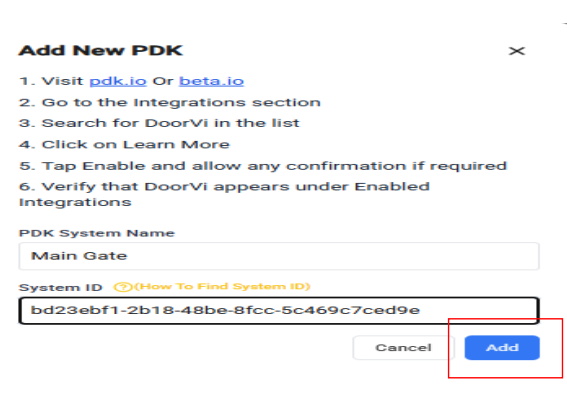
Steps 10 & 11 — Add New PDK System
Register your PDK system in DoorVi using your System ID
- PDK System Name — name it anything that suits your setup (see examples below).
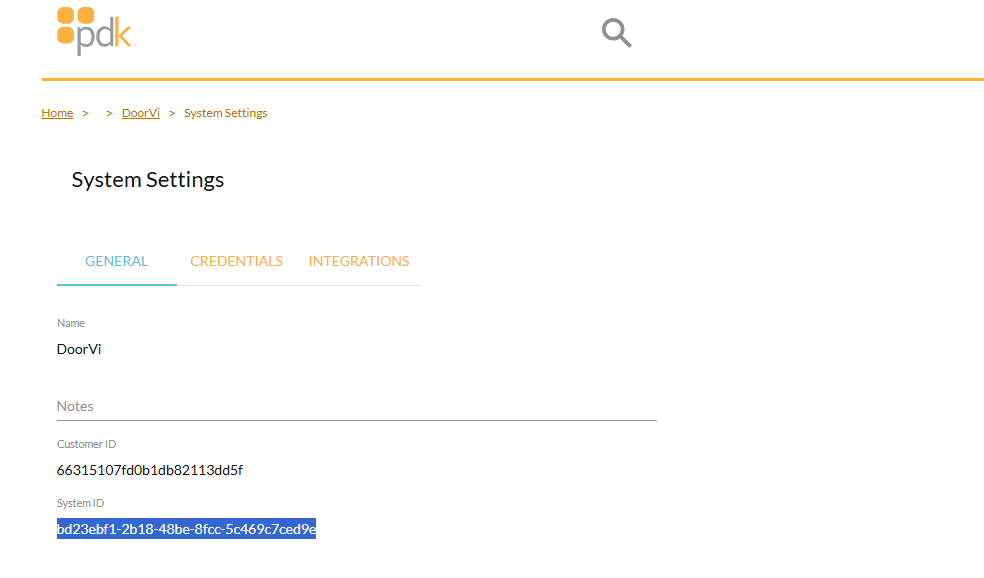
- System ID — your PDK System ID (see how to find it below).
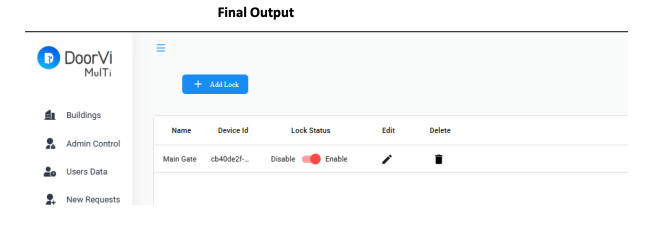
Steps 12 & 13 — Navigate to Building Locks
Open the Locks panel for your building in DoorVi
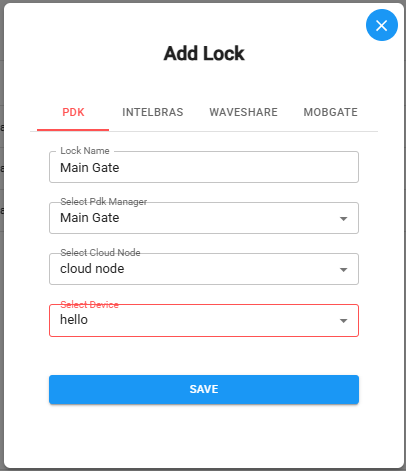
Steps 14 & 15 — Add Lock
Create a PDK-linked lock for this building entry point
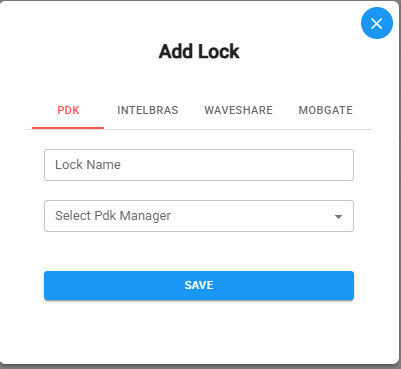
- Lock Name — enter a descriptive name such as "Main Entrance", "Front Gate", or "Back Gate".
- Select PDK Manager — choose the PDK system you added in Step 11 from the dropdown.
- Select Cloud Node — choose the cloud node from the dropdown.
- Select Device — choose the specific PDK device/reader from the dropdown.